You can change the size of your image in the Preview & Size Tab.
To change the size of a job:
- Select the [Preview & Size] tab.
- Select the [Maximum Print Area] you want to be used for the job. If you want to change the size, click
 button to open the “Set Print Area” dialog (Figure 1 and 2). In most cases, this will be the page size that you will print with.
- Modify either the [Width] and [Heigh (Figure 1). When you modify any one of those values, the other values will be changed automatically.
NOTE:You can unlock the [Width] and [Height], so that they can be changed independently by clicking a link to the right of the controls.
If you want to create an image larger than the printable area, make sure Tiling is enabled on the Tiling Setup tab.
Related Topics
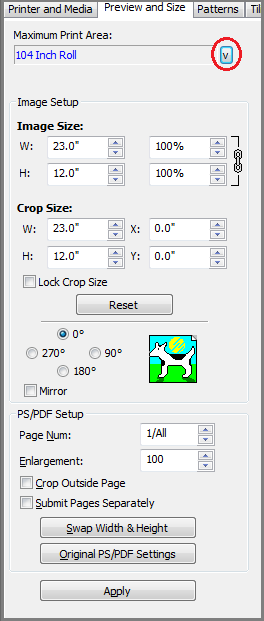
Figure 1

Figure 2

Figure 3